
Below was our dining room before. Every wall and corner of the house was beige, beige, and more beige. So, I started this room with a soft white/grey color with soft blue hues. This color may change again, but this was a starting point. As you can see in the picture, I didn’t paint the wall below since the wainscoting would cover.
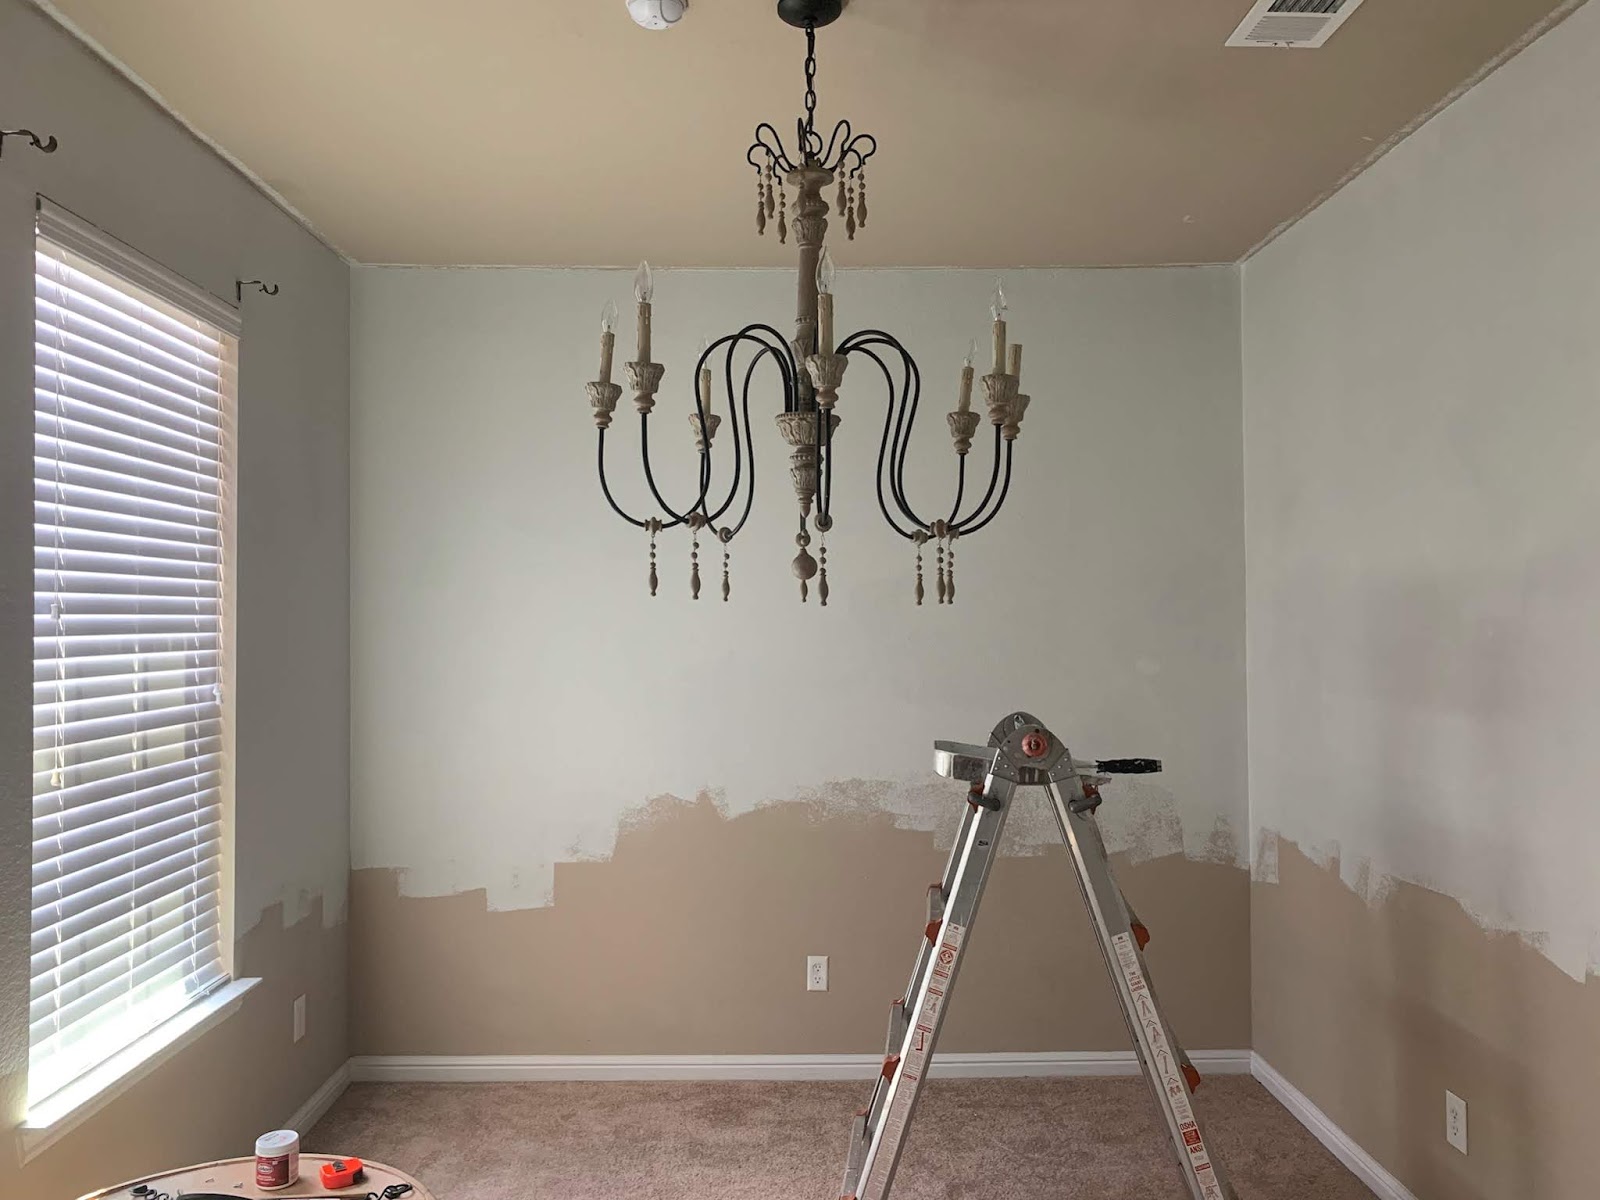

Once I finished painting, it was time to get to work. First, I had to decide at what height the chair rail would fall on the wall. After doing some research, the recommended height of a chair rail is between 28”-32” from the floor. I settled for about 30” up from the carpet, measured the perimeter of the room, and marked it with painter’s tape (see below).

The next step was to retexture the wall so that the surface below the tape would be super smooth and even. (If you have walls that are smooth already, there’s no need to do this step.) For those that are not that lucky, this is a KEY step if the panel molding will adhere to the wall. The above picture shows my husband starting to plaster the wall with All-Purpose Joint Compound, a paste-y like texture that should be applied as thinly and as evenly as possible. Once the first coat was dried, we did another coat to ensure it was even (depending on what texture wall you have, you may need another coat).
This huge bucket of joint compound was only $15.00, with a taping knife for $8.00! We couldn’t believe that it was so cheap to smooth out the wall, so I intend to do much more paneling throughout the rest of the house!


Once this entire process was done, I sanded all of it down with my electric sander to make absolutely sure the surface was smooth. Any bump or crevice will show once it’s painted!
After sanding, it was time to paint! I think white is the most beautiful when it comes to wall paneling because it adds so much light and airy-ness to any space, so we chose Sherwin-Williams Simply White.


Next, it was onto the paneling. We first had to decide how many boxes for each wall and what size. I would recommend here that you make sure you measure multiple times, because it will definitely show if the measurements are off. We decided five panel boxes on the two long side wall, four on the back wall, and one box on each side of the double doors. Of course, it all comes down to what works best for you!
Instead of cutting and bonding panel boxes together, we found out that Home Depot has pre-made picture frame wall panel molding! This is a great option if you are looking to save some energy and money. With each box, including the chair rail, it came to roughly $200.00, which was the bulk of our spending. (A little pricey, but way cheaper than any professional’s bill)!
All it took was a few simple measurements and a simple construction adhesive ($5.00) to attach the panels to the wall. Easy-peasy!


Once these panels were attached and dried, we we used this caulk to seal up the edges and any gaps. Caulk is an amazing way to give off the “built-in” look!
From here, all that was left was to cut and attach this chair rail using the same construction adhesive, but this was a bit tricky. We used a circular saw to cut the edges of the rail at a 45-degree angle so that each end would merge together seamlessly. Once each piece was cut, we put up each piece one at a time using the same construction adhesive for the frame boxes (another money saver!). I highly recommend here that you use a level to ensure the rail is exactly perpendicular. It will definitely stand out if it’s not even!


Looks amazing, right?! And the best part? This entire project cost a total of... drumroll please..... $230.00! This was such a fun and easy project and we never knew it could be so inexpensive to pull off this look. We hope to potentially put up wainscoting up the staircase, and if so, I’ll definitely share that project on the blog too!
If you have any further questions about the process, please contact me! I’d love to see pictures of your creations.

Post a Comment